State Tool integration with Komodo
The State Tool is automatically installed with Komodo 12, and State Tool functionality is integrated with Komodo to simplify and streamline working with the ActiveState Platform.
The State Tool is the command line interface (CLI) for the ActiveState Platform.
ActiveState Platform and State Tool Integration in Komodo consists of the following key components:
- When you open an existing project for a supported language (Perl, Python 3 or Python 2) that doesn’t already have an
activestate.yamlfile, you are presented with the option to associate an ActiveState Platform project with your Komodo project to manage the language distribution and package dependencies associated with the project. - If you open an existing project that contains an
activestate.yamlfile, Komodo will automatically activate the project. - When you create a new project you have the option to initialize it as an ActiveState Platform project that is managed via the State Tool.
- You can use Go to Anywhere (Commando) to run State Tool commands from within Komodo by entering
state ... - You can use Komodo to manage constants, scripts, and secrets for your ActiveState Platform project.
NOTE: Your Komodo project and the language runtime environment configured by an ActiveState Platform Project are two distinct projects. The Komodo project manages your code; the Platform project manages the core language distribution (e.g. Python 3.6.6) and the specific packages you have chosen to use with the runtime (e.g. Requests 2.18.4).
Working with existing Komodo projects
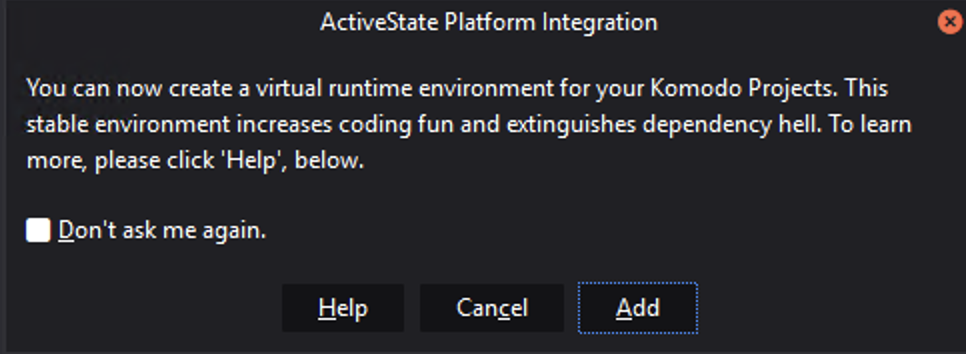
When you open an existing Komodo project, you are presented with the option of creating a virtual runtime environment for your project using the State Tool and the ActiveState Platform.
- Open an existing Komodo project.
- Click Add in the ActiveState Platform Integration dialog box.
- In the ActiveState Platform Wizard, select the Destination to create the project in on the ActiveState Platform. Destinations can be organizations that you are a member of as well as your personal platform account.
- Select the language runtime environment for the project. The current supported languages are Perl, Python 2, and Python 3.
- If the selected Organization belongs to a paid tier, you can choose to make your project private. Private projects are only visible to members of the selected organization. Public projects are visible to all other users of the ActiveState Platform.
- Click Create to create a new project on the ActiveState Platform.
When the dialog closes the Komodo will “activate” the language runtime. This means downloading the language runtime, the packages you have selected and any dependencies, and setting up the activated virtual environment. When you run your code in Komodo you are using the ActiveState project language runtime isolated from any other runtimes you may have installed on your computer.
Creating ActiveState Platform projects
You can create new ActiveState Platform projects from within Komodo. Komodo uses the State Tool to communicate securely with the ActiveState Platform. Your project code will remain where it is, an ActiveState Platform Project only records the runtime environment and its dependencies.
- Select Main Menu > Project > New Project.
- Enter a Name for the project.
- In the Language drop-down list, select Perl or Python.
- Select Add runtime environment to my project.
- Select the destination to use from the Destination drop-down list, this can be your user account or an organization that you belong to on the ActiveState Platform.
- If the selected Destination is on a paid tier, you can choose to make your project private. Private projects are only visible to members of the selected organization. Public projects are visible to all other users of the ActiveState Platform.
- Click Next.
- In the Bootstrap Project page, you can optionally configure version control for your Komodo project, the template to base it on, and any command to run after it has been created. Click Next after configuring these settings, or to accept the default values.
- Click Open Project to create your new project.
When the dialog closes the Komodo will “activate” the language runtime. This means downloading the language runtime, the packages you have selected and any dependencies, and setting up the activated virtual environment. When you run your code in Komodo you are using the ActiveState project language runtime isolated from any other runtimes you may have installed on your computer.
The runtime environment is downloaded and activated. This process may take some time to complete the first time. Once finished, you can use the new runtime environment in an isolated virtual environment created by the State Tool.
Running State Tool commands with Commando
You can run State Tool commands directly from Komodo, so you don’t need to launch a separate command line window to interact with the ActiveState Platform. You can complete tasks like creating a new project
- Click Go to Anything or press Ctrl+Shift+o (Cmd+Shift+o on macOS) to open Commando.
- Select the
shellentry. - Select the
stateentry. - Select the State Tool command you wish to run.
- Enter any required or optional parameters you want to include.
- Select the
runentry.
Running State Tool commands from the Side Toolbar
When you open a project that has an activestate.yaml the State Tool dynamic sidebar button will become enabled. You should see it at the left side of your screen. Alternatively you can press the “Plus” button in the sidebar to initialize the “State Tool” button from there.
Once initialized the following menu entries will be available:
- Run Command: A shortcut for running State Tool commands in Go To Anywhere (Commando).
- Update Runtime: Checks for the latest version of your project on the ActiveState Platform and updates it if necessary.
- Manage Packages: Launches the ActiveState Platform project page in your web browser so you can manage packages in your project.
- Add Constant: Adds a
constantssection (if needed) and a template for a new constant entry to youractivestate.yamlfile. You need to replace NAME and VALUE with your settings and update the constraint values if necessary. For more information on constants, see Constants. - Add Script: Adds a
scriptssection (if needed) and a template for a new script entry to youractivestate.yamlfile. You need to replace NAME and VALUE with your settings and update the constraint values if necessary. For more information on scripts, see Scripts. - Edit Script > <script_name>: Opens the selected script for editing. Changes you make to the temporary file are permanently written to your
activestate.yamlfile when you save and close the temporary file. - Edit Secrets: Opens the State Tool Secrets dialog box where you can manage project and user secrets. For more information on managing secrets in Komodo, see Managing State Tool secrets. For general information on State Tool secrets, see Secrets.
- Run Script > <script_name>: Runs the selected script defined in your
activestate.yamlfile.
Managing State Tool secrets
To add a new secret:
- Select State Tool > Edit Secrets from the side toolbar. The default option selected is Create a New Secret.
- In Name, enter a meaningful name for the secret.
Select the Scope of the secret:
- User: A distinct secret value is associated with each individual user. Use this option if each user accessing the project should use a secret value specific to them. For example, if each developer uses their own API key to access a service.
- Project: The secret value is the same for all users of the project. For example, all developers use the same API key to access a service.
Value: Enter the secret value.
To edit an existing secret:
- Select State Tool > Edit Secrets from the side toolbar.
- Select the secret to modify in the Secret drop-down list.
- Update the Name, Scope, or Value of the secret, as necessary, and click Save.
- Close the State Tool Secrets dialog box.