Vulnerabilities and remediation
Two of the most critical issues faced by development teams include timely vulnerability remediation and knowing which component or version of a component is safe to use. The ActiveState Platform addresses both issues by providing a vulnerability status that shows the number of vulnerabilities (and threat severity) for the open source artifacts in your project, allowing you to identify and remediate risks early and often.
Identifying Vulnerabilities
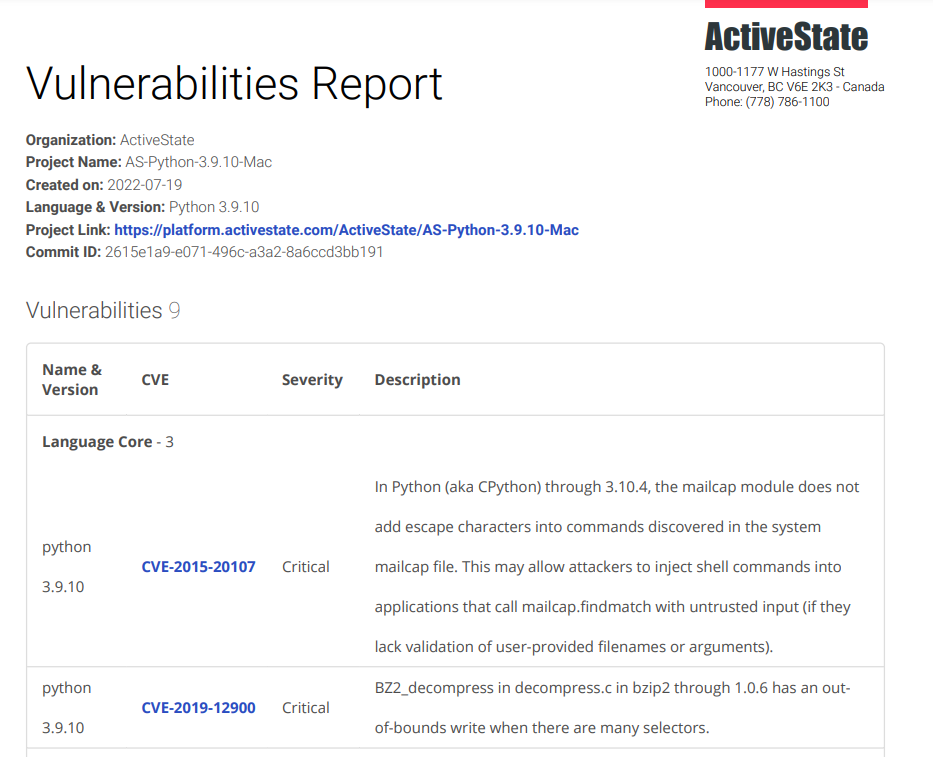
- Clicking the Overview tab of your project will show general information on the vulnerabilities. A report can be generated by clicking the Report link on the Vulnerabilities line.
The Report function is only available to Enterprise users
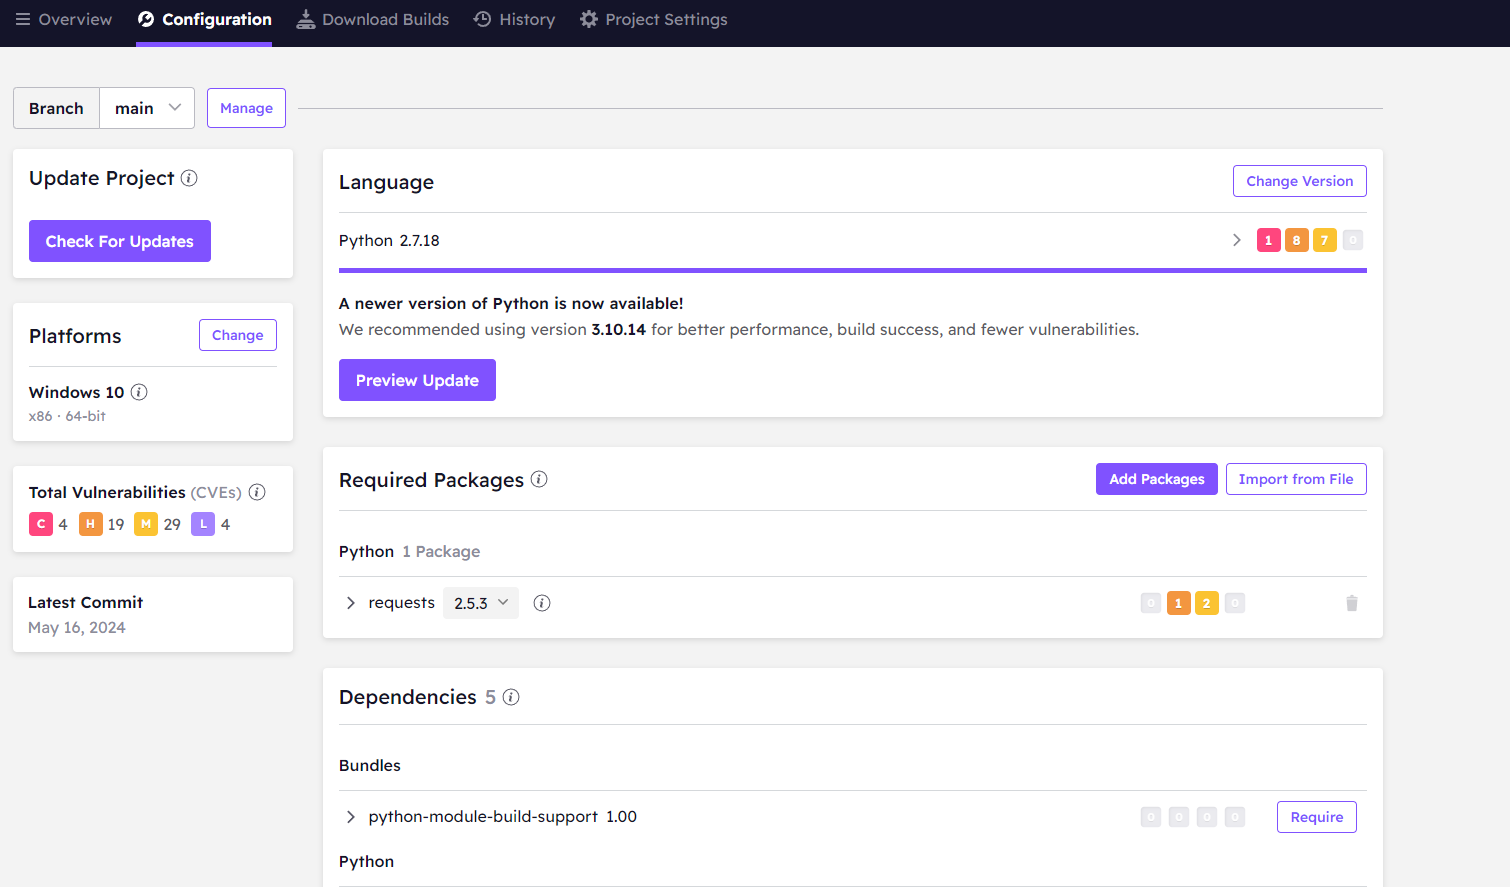
- Clicking the Configuration tab will show a more detailed breakdown of the vulnerabilities of your project, their severity, and a link to the details about each specific vulnerability.
Creating a successful project containing everything you need may involve managing some risks, as not every vulnerability listed means your project is not secure. We encourage you to investigate these vulnerabilities to see if remediation is needed.
After accessing the risks associated with your project you can move on to remediation.
Remediation for Team and Enterprise users
The ActiveState Platform will shorten the lengthy remediation process of investigating, rebuilding, retesting, and updating runtime environments. The Platform lets you find, fix, and automatically rebuild a secure version of your runtimes in minutes. Decreasing the Mean Time To Remediation (MTTR) from days to hours.
To protect the integrity and settings of your existing project, we recommend
- creating a new branch of your existing project
- making any remediations in the new branch
- verifying a successful build (with vulnerabilities remediated), and then
- incorporating the new branch into your existing CI/CD pipeline
To create a new branch of your project:
- On your Project Settings tab click Branches and Add Child.
- Select a branch name and click Add to create a branch for your project.
- In the Configuration tab, select your new branch from the Branch drop-down menu at the top of the page
To make changes to your new branch:
- On the Configuration tab of your new branch, scroll down to find an artifact that has a listed vulnerability and click the Edit button.
- The drop-down associated with that artifact will show other versions that may have fewer, less severe, or no vulnerabilities listed.
- Select a new version and wait for the builder to notify you that the dependency has been resolved.
- Click Save Changes and Start Build (or in the case of an unresolved dependency Save Changes Anyway) to build your new branch.
It is recommended that you only proceed with resolved dependencies. Proceeding with unresolved dependencies may introduce unnecessary risks to the security of your project.
- In your History tab, check to see if your updates have been included in your branch.
You can now run this new branch, complete with your remediated vulnerabilities, from the Download Builds tab of your project or against your current CI/CD pipeline using existing methods unique to your organization.

